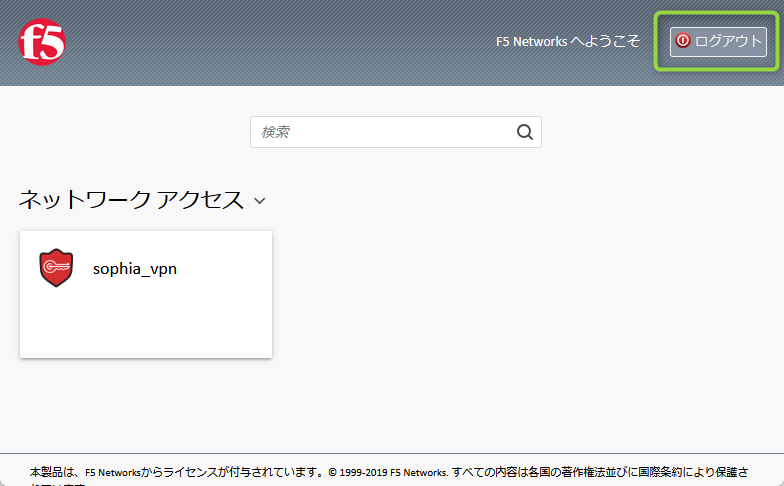
With a secured VPN (Virtual Private Network) of Sophia, you can connect your PC to the intra-network of Sophia University through the internet and access Database Search offered by the library. The application is unnecessary and available for everyone with a Sophia ICT account.
Please refer to the manual on the Forms/Manuals -> [VPN Service] page.
To connect to the VPN, click the icon below or access this page.
The ICT Office replaced the VPN system on 30th March 2018.
Conditions of use
- Connect to the Internet (Off-campus NW required).
- If the VPN cannot be started, try another browser to see if it works.
- Do not use a PC in a public place (i.e., an Internet cafe).
- Update OS (Windows Update) and Anti-Virus software to the latest version.
- A private network (192.168.0.0/16) cannot be connected, but 10.0.0.0/8 or 172.16.0.0/12 can.
Caution
- Please update the latest version of the Anti-Virus software and virus definition file.
It rarely happens that you need to restart your PC or update the anti-virus software files manually.
You cannot connect to the VPN if you don’t update them in about 10 days.
Troubleshooting
This is a workaround when a VPN connection cannot be established.
- Change the browser.
Try connecting with another browser (software for viewing web pages).
(Browser: Firefox, Google Chrome, Microsoft Edge, Safari) - Log out from the VPN then try again.
If you can log in to the VPN but cannot connect, click “ログアウト” (log out) on the VPN screen, then log in again.

- Update the OS version of the PC to the latest version.
- Reinstall VPN client software.
Download the troubleshooting tool and uninstall the VPN client according to the manual procedure.
Please restart the PC after uninstalling and try the VPN settings.
Manual (PDF file)
Manual for deleting Client Software
・Troubleshooting tools
f5wininfo.zip - Reinstall Network Adapter:
① Delete the network adapter icon starting with “_Common_sophia_vpn”
② Reinstall the Network Adapter
Press the [Windows] key+[R] key to open [Run]. Enter “devmgmt.msc” and click [OK].
When [Device Manager] starts, expand the network adapter, right-click the following two, and select [Uninstall device].
WAN Miniport (IP)
WAN Miniport (PPTP)
Restart PC. The deleted devices will be reinstalled automatically.
<Reference>
Although it is an external site, please refer to the deletion method shown in ① and ② with the following link.
Reference
 ICT Office